Philippine Online Passport Appointment: 6 Easy Steps
Disclaimer: This post is not a financial or investing advice, it’s for educational purposes only. It may contain affiliate links, meaning I get a commission if you decide to make a purchase, at no extra cost to you. Read our disclosure
Did you know that you can now schedule a Philippine passport appointment online? Acquiring a Philippine passport is one of your investments when you consider going abroad for tourism or for a greener pasture.
Traveling is part of our lives and we should never deprive ourselves for it is the greatest gift God has endowed us. To explore is to be open to possibilities. To be imaginative.
Related: Cut Travel Expenses by 50%
Here at Juan Investor, we cater to all the facets of being an investor. That is why our topic now is about getting your passport. Passports are necessary when you are planning to go on a business or a leisure trip.
Aspire to have these two. But at different times, of course. While my officemate and I were scanning travel pages on the net, we stumbled upon several cheap travel tours and accommodations.
Until we hit a site where it has a package to China for two for only Php 3,999!!! For 3 days 2 nights stay, we could experience the Great Wall of China, Chinese cuisine, the busy streets of Shanghai, and anything else. Wow, is this true?
Related: Unusual Things to Do in Boracay
Shocked, I thought if that was a real deal or a scam. So I did some research. I found out that it was a legitimate site recommended by several travelers.
Doubts faded, and I got so excited and planned to purchase. But I broke into silence when my friend suddenly said, “Bro, we don’t have a passport yet.” My smile faded. And I hated myself for not having a passport.
I imagined how tiring it would be to get a passport. Long lines, hours of waiting, and silly fixers will be there for you. Good luck! There should be a better way. And I should have a passport.
How I Scheduled an Online Passport Appointment
Since then we planned to get a passport for mini-vacations and trips outside the archipelago. I scanned through Google for a couple of minutes.
Step 1: Head over to DFA’s Online Passport Appointment Website
I visited www.passport.gov.ph which is the official website of DFA for passport processing. I immediately accessed the site and there I found the answer to my dilemma.
Step 2: Click the “Set an Appointment” Button
I went through the side tab of the page and there I saw “Set an appointment”.
Step 3: Fill out the Information Sheet
I went through it and then I filled out the information sheet. I typed in my name, address, occupation, and all the other personal details.
What amazed me with this platform is that you get to choose your appointment date and time!
Isn’t that good? Instead of going 4 AM to the DFA office, falling in line, stumping other applicants’ feet, and sweating ‘til you go out of sweat, you now have the freedom to choose your own date and time at your convenience. What a breakthrough! I commend DFA for this great improvement.
Step 4: Click the “Submit” button
Going back to my application. I chose my own appointment date and set it at 3:30 PM. I clicked the submit button.
Step 5: Verify the Email Link Sent by DFA
A message appeared that prompted me to verify the email sent to my email address. I checked my email address and there I received a link that needs to be verified within 24 hours. Else, it would expire.
So I clicked the link and there I was able to see a pdf file in 3 pages.
Step 6: Print the PDF File and Get Ready for Your Appointment
The file contains important reminders on the first page, my application form on the second page, and the application requirements on the third.
On the first page, it says there that I must print the file and be brought at the scheduled appointment. So I did. And that was all. I filed for a vacation leave on my appointment date and waited.
What To Do When You Are at DFA Aseana
- When you arrive at DFA Aseana, prepare the appointment file that you’ve printed since it will be asked for by the guard before you can enter.
- Go to the table just in front of where you entered. There is a desktop computer there with two staff. You need to present your appointment documents for validation of the bar code. They will remove the first page of that document and then tell you to wait at the waiting area.
- If your appointment is set for 3:30 PM, look in the waiting areas there where you can see signage with your appointment time. You may find a waiting area that has 3:00, 3:30, 4:00, or 4:30. Go to where your appointment time is. You will then wait for a couple of minutes before you are instructed to come inside the building.
- You will go inside by batch. The staff will tell you that you can go inside. Prepare your appointment document.
- You will then be seated and move like a trip-to-Jerusalem game. When one is done, you will move to the next seat and so forth until you reach your turn.
- If you are a new applicant, you will be instructed to go to the 2nd Floor directly (I don’t know if this applies to passport renewal, lost passports, etc.)
- Prepare your original and photocopied documents: Application form, Acceptable ID, and supporting documents. You will be interviewed for 2-3 minutes. Then you have to present your original 2 valid IDs. I presented my TIN, driver’s license, and company ID. I was surprised when the interviewer only got my Application form, original NSO, and company ID! He returned the rest of my documents. I wondered why. I even prepared my TOR and E1 for this. But they didn’t get it. Never mind. Better anyway that the processing was kinda swift. Smooth transaction.
- You will then pay at the cashier for the passport fee of Php 950.00 (regular – 15 days) or Php 1,200 (express – 7 days).
- Next is to secure a priority number. There was signage there that said “Get your Priority number here”. Otherwise, ask the guard where it is.
- The last part was the lazy part. I sat there for around 3:45 PM and was able to complete the process at 5:30 PM. The last part was the encoding and registration process. They will take a picture of you and your signature, and that’s it! You’re done!
- If you want to have your passport delivered to your doorstep, there is a delivery service located at the exit. You can see people in line there. For Php 120.00, you can have your passport delivered so you don’t have to go back to DFA to claim it. So I paid P120 and I went home.
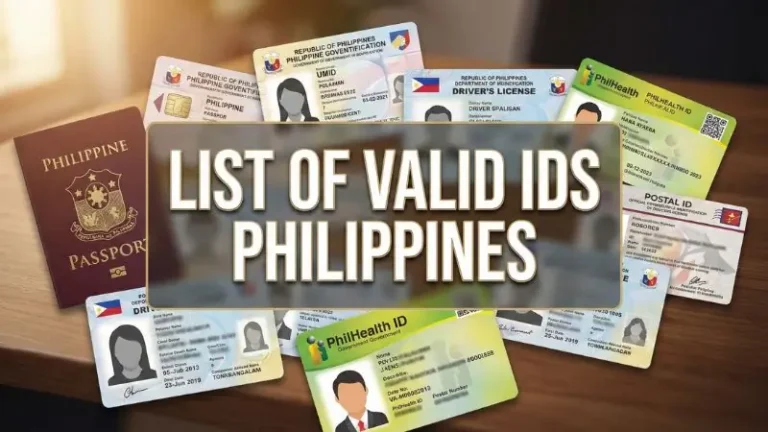
List of Acceptable Valid IDs for Philippine Passport Appointment
During your Passport appointment, you should bring any of these Valid IDs with one (1) photocopy:
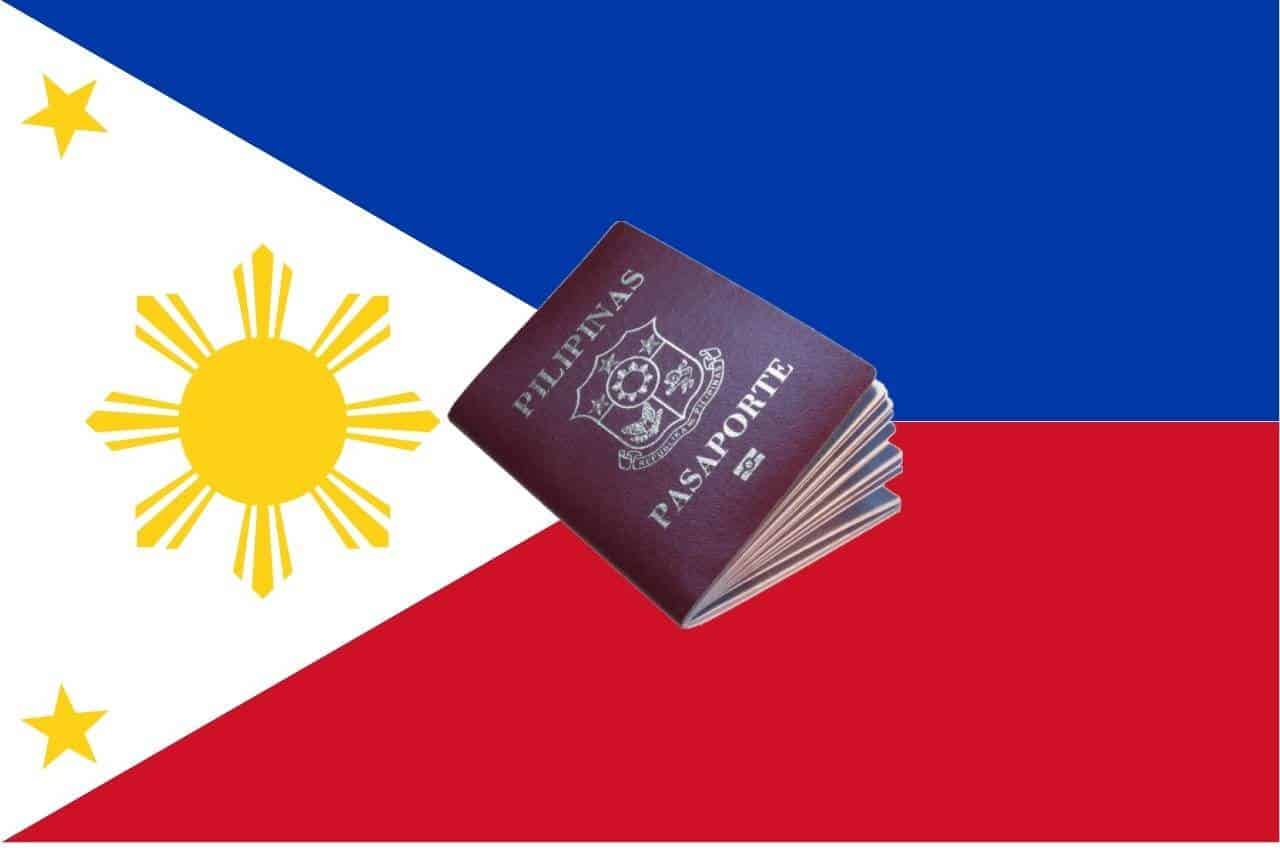
- Philippine Passport
- Social Security System (SSS) Card
- Unified Multipurpose ID (UMID) Card
- Government Service Insurance System (GSIS) Card
- Land Transportation Office (LTO) Driver’s License. Student Permit may be accepted
- Professional Regulatory Commission (PRC) ID
- Overseas Workers Welfare Administration (OWWA) E-CArd
- Philippine National Police (PNP) Permit to Carry Firearms Outside Residence
- Airman License (issued Aug 2016 onwards)
- Philippine Postal ID (issued Nov 2016 onwards)
- Seafarer’s Record Book
- Senior Citizen ID
- Persons with Disabilities (PWD) ID
- Solo Parent
- COMELEC Voter’s ID / Certification
- School ID (valid for the duration of studies up to 1 year upon graduation)
Note: For applicants based overseas, they may use their host government-issued IDs such as Foreign Passports, Residence Card
Reminder: IDs presented should be readable, untampered, and contains consistent information with the documents presented during the application
Frequently Asked Questions
-
What are the requirements or documents for a Passport appointment?
These are the required documents for a Passport appointment:
1. Confirmed Online Appointment form
2. Personal Appearance
3. Accomplished Application Form
4. Original and Photocopy of Philippine Statistics Authority (PSA) Authenticated Birth Certificate – Married Females (using their spouses’ last name) must also present an Original and photocopy of the Marriage Certificate – A local Civil Registrar Copy is required if the PS Birth Certificate is not clear or cannot be read
5. Any of the following acceptable Valid IDs with one (1) photocopy -
Is a Passport appointment available on Saturday?
Yes, DFA branches are open from Monday to Saturday.
-
Can the Passport appointment date be changed?
Yes, you can change your appointment schedule. Simply go to DFA’s website then click on Schedule Appointment then View Appointment
-
Is the Passport appointment refundable?
No. If the applicant fails to show up during his/her appointment schedule, no refunds will be issued.
Final Thoughts
All in all, I was impressed at the improvements made by the Philippine government. Kudos to DFA! And may you take advantage of this service that they have instead of the conventional early-fall-in-line method.
Update: Philippine Passport’s validity is now ten (10) years!